
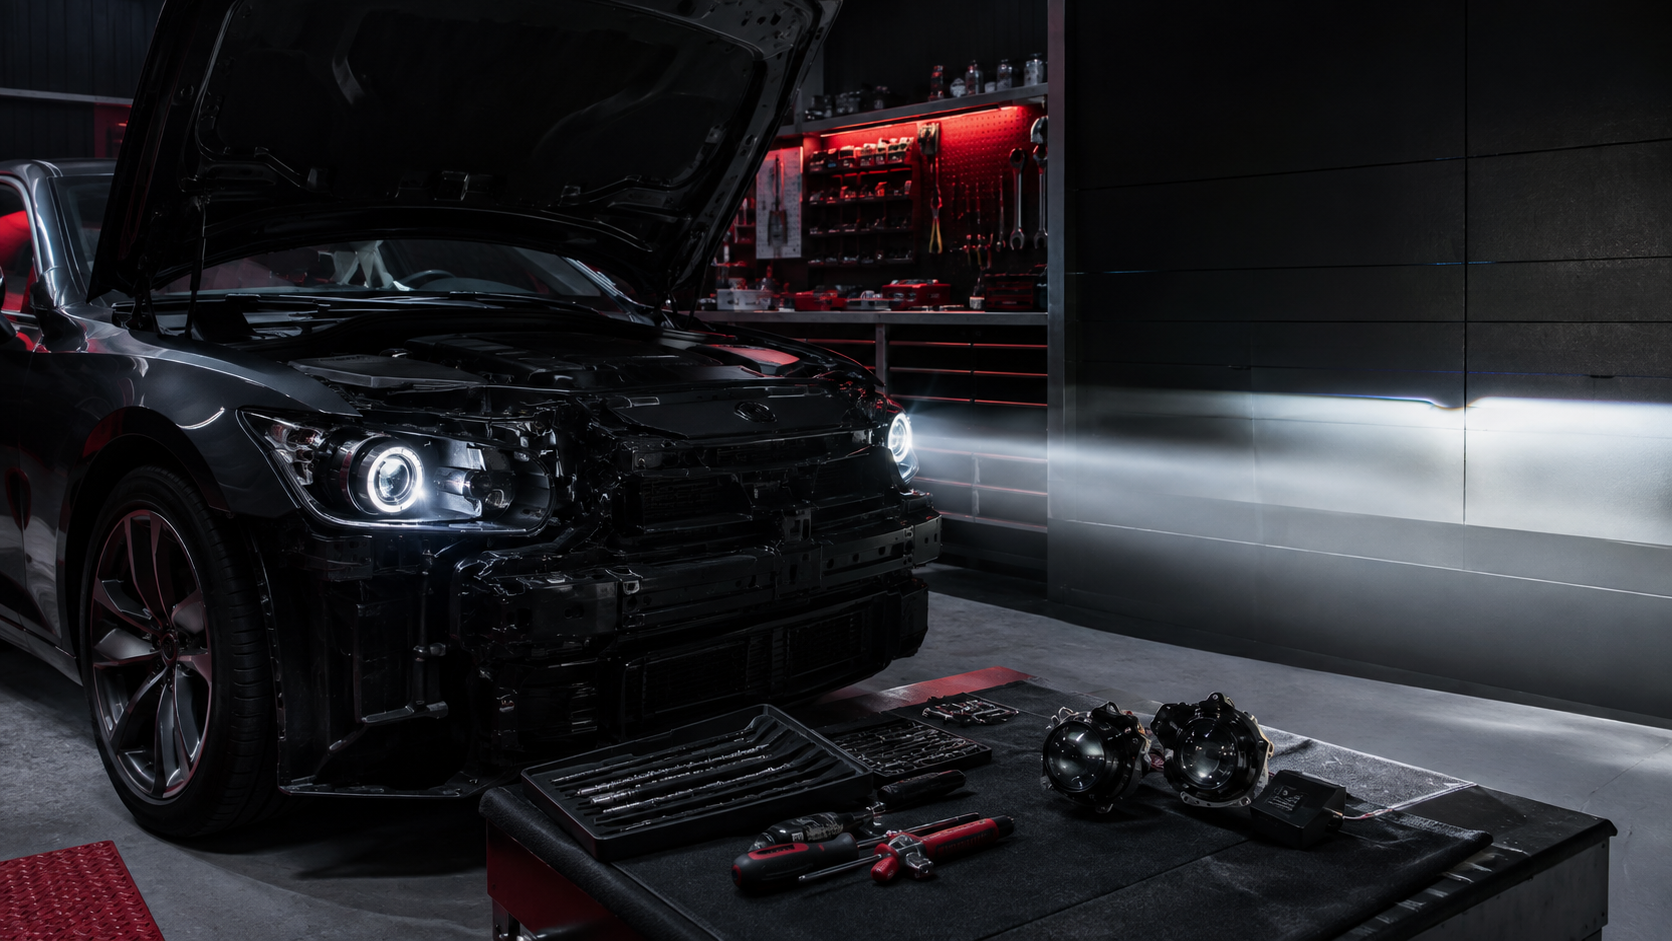
A projector headlight upgrade is not simply about installing the brightest available light source. A properly planned upgrade should improve usable visibility while maintaining a controlled beam pattern, dependable electrical operation, and compatibility with the vehicle’s headlight assembly.
Before choosing a projector system, drivers should understand how the product, vehicle, installation method, and final calibration work together. This guide explains the most important points to review before installation.
What Is a Projector Headlight Upgrade?
A projector headlight uses a dedicated optical assembly to collect, shape, and direct light. Depending on its design, the projector may provide a low beam, a high beam, or both functions through one bi-function unit.
In a retrofit, the original headlight housing is carefully opened or modified so the selected projector can be mounted, aligned, wired, sealed, and tested. Because headlight housings and vehicle electrical systems differ, the correct installation method must be determined for the specific vehicle.
Why Beam Control Matters More Than Raw Brightness
High output alone does not guarantee useful road illumination. Light must be placed where the driver needs it without producing uncontrolled glare. A well-designed and correctly installed projector should create a stable beam pattern with an appropriate cutoff, useful width, and balanced foreground illumination.
Useful visibility comes from controlled light—not brightness alone.
Final performance may still vary according to the projector, headlight lens, mounting height, vehicle condition, voltage stability, aiming procedure, weather, and road environment.
Five Things to Check Before Installation
1. Vehicle and Housing Compatibility
The installer should inspect the available mounting space, reflector or projector configuration, lens condition, adjusters, rear covers, ventilation, seals, wiring, and nearby components. Some vehicles may require custom brackets, additional clearance work, adapters, harnesses, or coding-related solutions.
2. Intended Use
Daily city driving, provincial highways, poor weather, long-distance travel, and show-oriented builds may require different lighting priorities. Explain how and where the vehicle is normally driven so the recommended system is based on actual use rather than appearance alone.
3. Electrical Condition
Existing voltage instability, corroded connectors, damaged wiring, weak grounds, incompatible control modules, or previous modifications can affect lighting performance. These conditions should be identified before new equipment is connected.
4. Installation Method
A professional installation should use secure mounting, protected wiring, correct polarity, appropriate connectors, proper insulation, controlled routing, and careful resealing of any housing that must be opened. Temporary or improvised mounting can lead to vibration, misalignment, moisture entry, or electrical failure.
5. Testing and Final Aiming
The work should not end when the light turns on. The installer should test low beam, high beam, switching behavior, relevant vehicle functions, beam stability, alignment, and other affected electrical operations before turnover.
Projector Upgrade Evaluation Checklist
| Evaluation Area | What Should Be Checked | Why It Matters |
|---|---|---|
| Optical fit | Housing space, lens condition, mounting position, and adjuster function | Supports stable alignment and proper beam formation |
| Electrical fit | Voltage, grounds, connectors, polarity, modules, and existing modifications | Reduces avoidable faults and unstable operation |
| Installation quality | Mounting, wiring protection, sealing, routing, and component clearance | Supports reliability and protects surrounding components |
| Beam performance | Cutoff, width, height, symmetry, high-beam operation, and road aim | Improves usable visibility while controlling stray light |
| After-sales records | Invoice, installed product, warranty coverage, branch, and installation date | Makes future support and warranty assessment easier |
Common Mistakes to Avoid
- Selecting a product based only on advertised brightness.
- Installing equipment without checking the vehicle’s wiring and charging condition.
- Using loose, improvised, or poorly aligned mounts.
- Ignoring damaged adjusters, lenses, seals, connectors, or previous modifications.
- Skipping beam-pattern testing and final aiming.
- Assuming every projector or headlight assembly fits every vehicle.
- Making additional wiring changes after installation without documenting them.
What a Professional Turnover Should Include
Before releasing the vehicle, the installer should verify the approved scope of work, demonstrate relevant lighting functions, complete final quality-control checks, and explain any operating or maintenance guidance. The customer should also receive a clear record of the installed product, transaction, branch, installation date, and applicable warranty information.
If an unsafe condition, unusual flickering, overheating, burning smell, smoke, water contamination, or intermittent failure appears after installation, discontinue use of the affected function when reasonably safe and contact the installer promptly for assessment.
Choosing the Right Upgrade
The best projector headlight upgrade is the one that suits the vehicle, the driver’s normal road conditions, and the installation environment. Product specifications are important, but compatibility, workmanship, testing, aiming, documentation, and after-sales support determine whether the complete system performs as intended.
For an application assessment, contact an authorized Krazy Modz branch and provide the vehicle make, model, year, current headlight configuration, and clear photographs of the headlight assembly. A technician may still need to inspect the vehicle before confirming compatibility or the final installation scope.